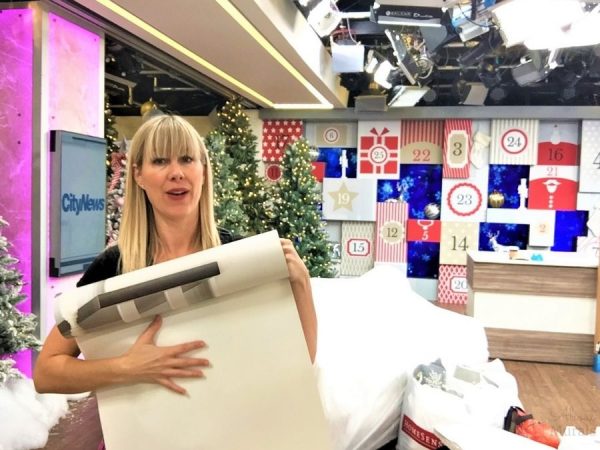
Wondering how to paint stripes on a wall? As a professional muralist, I created this quick tutorial to teach you! You’ll get crisp lines on your wall every time!
Fellow DIYers, remember to tag me on Instagram at @about_murals so I can see your masterpiece and leave a Google Review if this helps you!
How to Paint Stripes on a Wall Tutorial
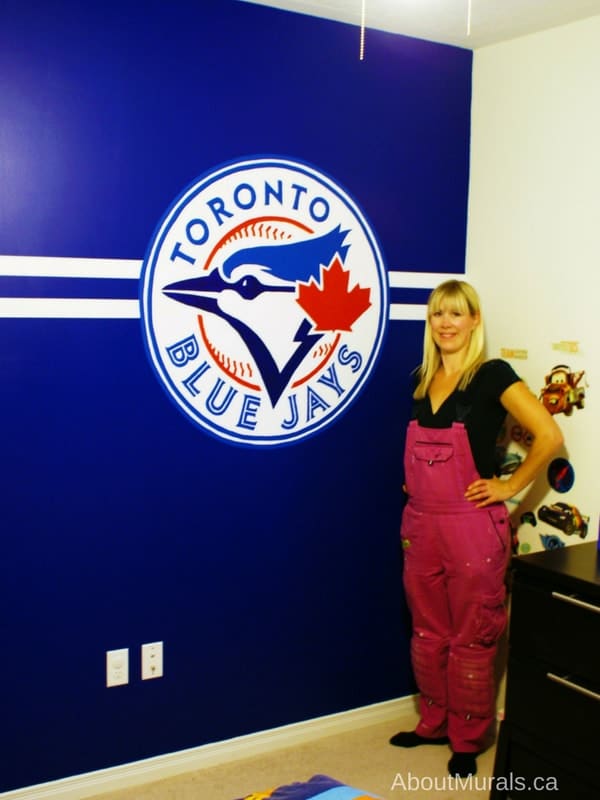
Whether you’re adding stripes on a wall in combination with a mural, like this Blue Jays mural I painted, or just want a cool geometric look, you create stripes the same way.
Step 1: Paint The Wall

Before painting stripes on a wall, you first need to paint the entire wall (if needed) like this blue colour.
Step 2: Use A Level

Use a level and draw a line in pencil so you’re sure of a super straight stripe.
Step 3: Use Painter’s Tape
Stick green painter’s tape on the wall, using the pencil line as a guide.
Put the tape just above and just below the pencil line, so that when you paint the second colour (white in my pics), you’ll cover the pencil lines.
Step 4: Seal The Tape With Paint
This is the top secret tip that makes crisp striped walls.
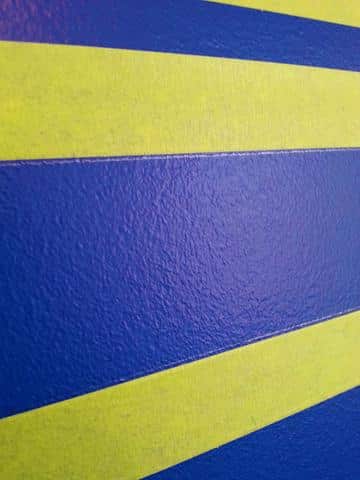
Use the original base colour (blue in my pics) and paint over the inside edge of the painter’s tape. This seals the tape so that the white paint can’t seep under.

If any of this blue paint seeps under the paint, it blends right into the rest of the wall.
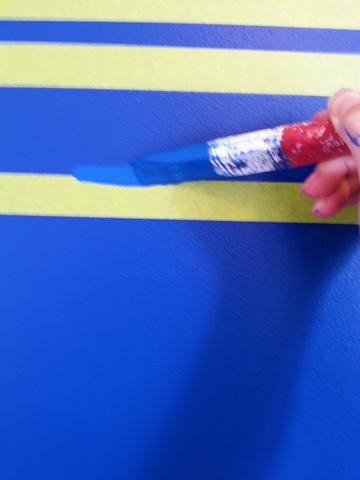
Step 5: Add The Second Colour

Yup, that’s it. Paint the second colour now (white in my pics)…it can’t seep under the tape because it’s been sealed.
Remember to let the base colour (blue in my pics) dry before painting the second colour, so you don’t end up mixing two colours together. Eek!
Step 6: Remove The Tape
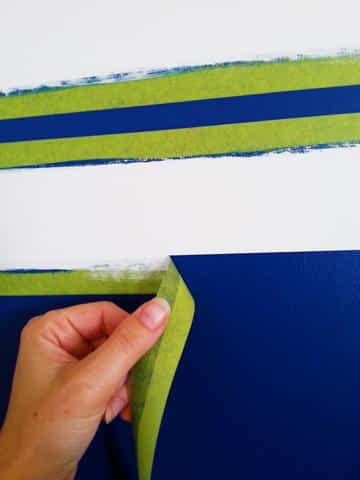
This is my fave part of the whole process. It’s like striking something off my to-do list. It gives me a gooey feeling inside. Oh ya, baby!
Peel it off slowly so the tape doesn’t rip and make it harder to peel off.
Presto!
More Murals Using this Sneaky Tape Trick
Here are a few more murals I painted using this sneaky painter’s tape trick, so you can see all the ways it can be utilized!
Fellow DIYers, remember to tag me on Instagram at @about_murals so I can see your masterpiece and leave a Google Review if this helps you!